> ## Documentation Index
> Fetch the complete documentation index at: https://docs.tryearmark.com/llms.txt
> Use this file to discover all available pages before exploring further.
# Before a meeting
> Seed tasks, set context, and pick templates so you walk in ready
The best Earmark meetings start before anyone says a word. The more you set up ahead of time, the faster you get useful outputs during and after the call.
## Seed the meeting with tasks
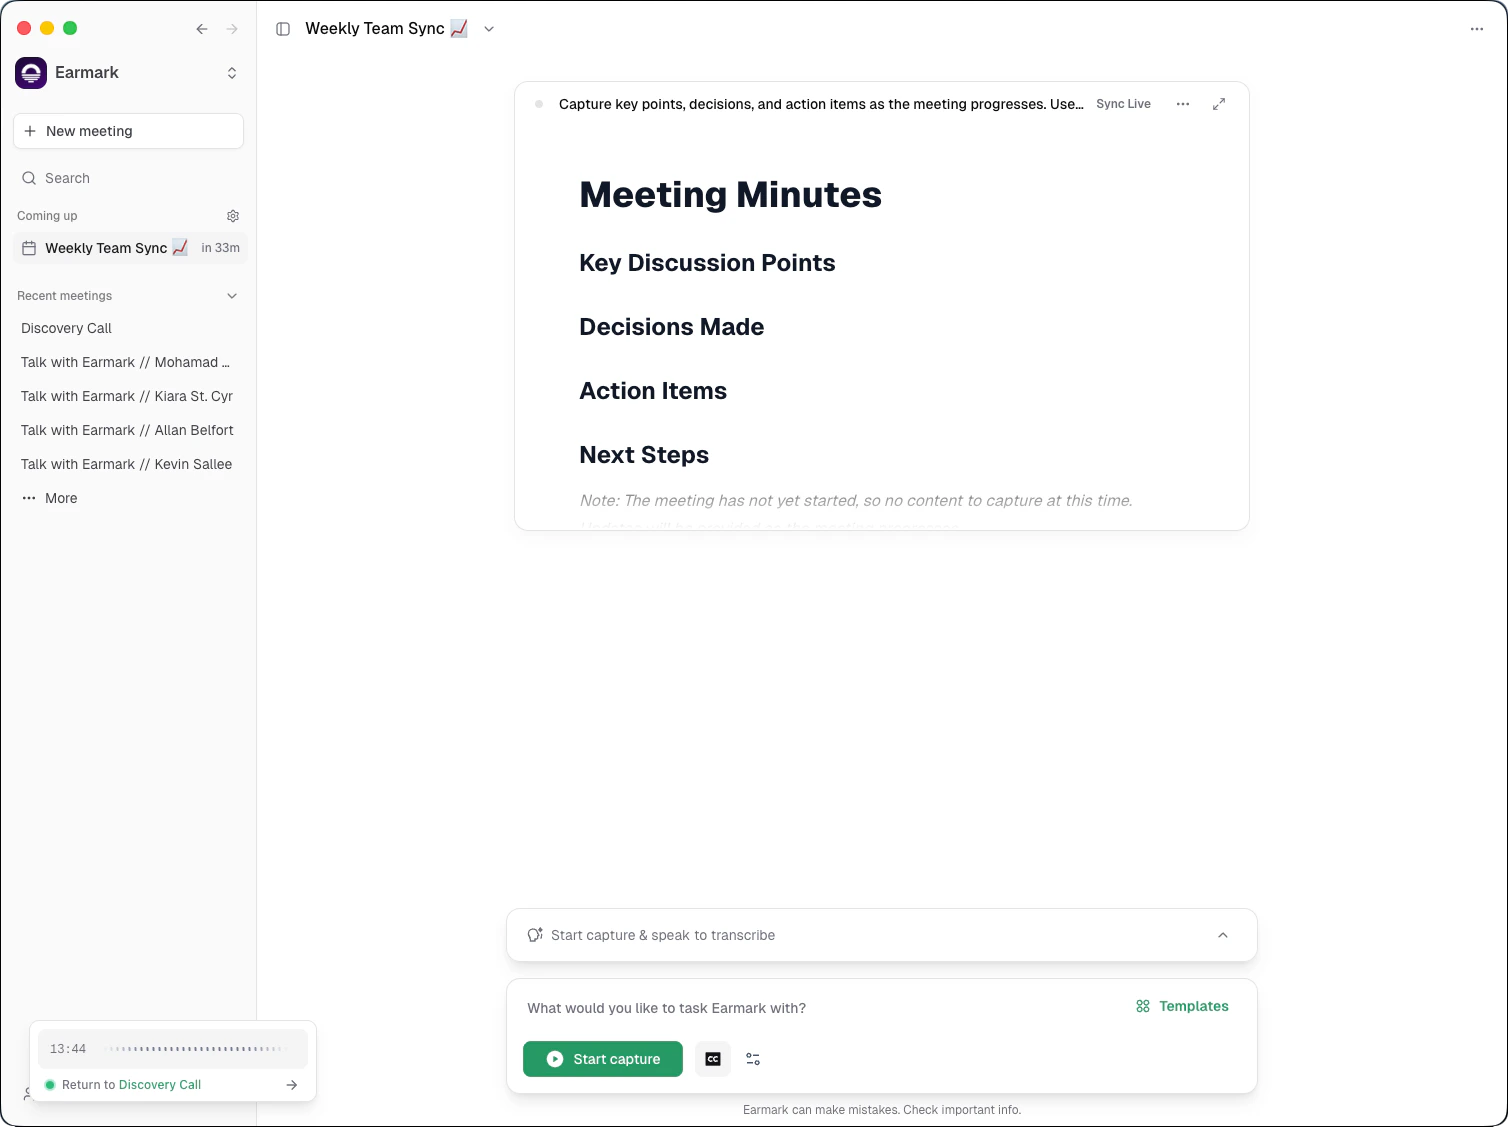
You don't have to wait until the meeting starts to add tasks. Open the meeting in Earmark before the call and **add the tasks you already know you'll want**:
Click **New meeting** or open an upcoming meeting from the sidebar (if your calendar is connected).
Open the template library and add the outputs you know you'll need. Common pre-meeting picks:
* **Real-Time Meeting Minutes**: if you want a running summary of decisions and actions
* **Engineering Specs**: if the meeting will produce engineering work
* **Ticket Generator**: if you need to extract work items for your project tracker
* **Stakeholder Review**: if this is a cross-functional alignment meeting
* **Topic Outcome Tracker**: if you want a structured record of what was discussed and decided
If none of the templates fit, write your own prompt. For example: "Extract all API design decisions with trade-offs discussed" or "Summarize the budget discussion with risks and recommendations."
Tasks you add before the meeting don't generate anything yet; they wait for transcript data. Once you start recording, they begin producing output and updating live.
## Add meeting context
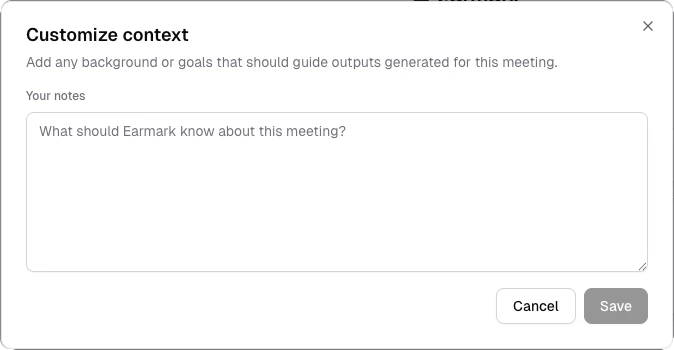
Open the **Customize context** dialog to give Earmark background that shapes every artifact:
* What the meeting is about and what you hope to decide
* Key constraints or background the team should be aware of
* Specific questions you want answered by the end
This context is fed to the AI alongside the transcript, so artifacts are grounded in what matters, not just what was said.
If you're joining from a connected calendar, Earmark automatically pulls in the **meeting title, description, date/time, and attendee list** from your calendar event. This context is passed to the AI without any manual setup.
## Set up personalization (one-time)
If you haven't already, configure your [personalization settings](/customization/personalization) before your first real meeting:
1. **Role** (e.g., "Senior Product Manager"): shapes tone and terminology
2. **Bio**: your focus areas, communication style, current priorities
3. **Company vision** (workspace admin): aligns all artifacts with your team's mission
This context persists across every meeting. You only need to set it once and update it when your focus shifts.
## Choose your templates ahead of time
Browse the [template library](/earmark-basics/templates) and identify what you'll need. For common meeting types:
| Meeting type | Templates to pre-load |
| ---------------------- | ------------------------------------------------- |
| **Weekly sync** | Real-Time Meeting Minutes + Topic Outcome Tracker |
| **Sprint planning** | Engineering Specs + Ticket Generator |
| **Client call** | Client Call + Slack Update Post Generator |
| **Strategy session** | SCQA Formatter + Most Pressing Item |
| **Stakeholder review** | Stakeholder Review + Executive Summary |
| **Incident response** | Incident Command Document |
## Pre-meeting checklist
* [ ] Open the meeting in Earmark (or create one)
* [ ] Add 1-3 tasks from templates or custom prompts
* [ ] Add context via the Customize context dialog if the calendar description isn't enough
* [ ] Confirm your personalization settings are current
* [ ] Tell your team what outputs to expect so the meeting stays focused
Five minutes of pre-meeting setup saves thirty minutes of post-meeting cleanup. The more specific your tasks and context, the better the artifacts.